Gnome Boxes is the easiest tools to run Virtual Machine on Linux. You can easily create a box, select an ISO, and voila! Your virtual machine is good to go. Boxes uses QEMU/KVM backend to run Virtual Machine with minimalistic configuration as opposed to virt-manager, which offers more advanced configuration options.
Windows 11 is new OS from Microsoft that come with a new requirements, Trusted Platform Module (TPM) 2.0 and UEFI Bios. Gnome Boxes needs some additional configuration to enable these features. In this tutorial, we will talk about it. Please note that this tutorial does not provide a step-by-step guide on how to install Windows 11. Instead, it focuses on how to set up TPM 2.0 and UEFI on Gnome Boxes.
Prerequisites
Before we begin on the installation process, make sure you have met the following requirements:
-
A Windows 11 ISO, which can be conveniently downloaded from the official Microsoft website.
-
Open Virtual Machine Firmware (OVMF) must be installed to allow the VM to operate with UEFI BIOS, you can install it from package manager
edk2-ovmf. -
Install
swtpmto provide a TPM emulator that can be integrated into Gnome Boxes. After completing the installation process, execute the command to generate a new config files.swtpm --create-config-files skip-if-exist -
Ensure that your system has at least 4 GB of RAM and 40 GB of disk storage available for Windows 11.
-
Verify that your CPU supports virtualization, either AMD (AMD-V) or Intel (VX-X). Make sure you have activate it on BIOS
Installation
Create a new box and select your Windows 11 ISO files, then you face this window to setup disk, ram, and EFI support for VM.
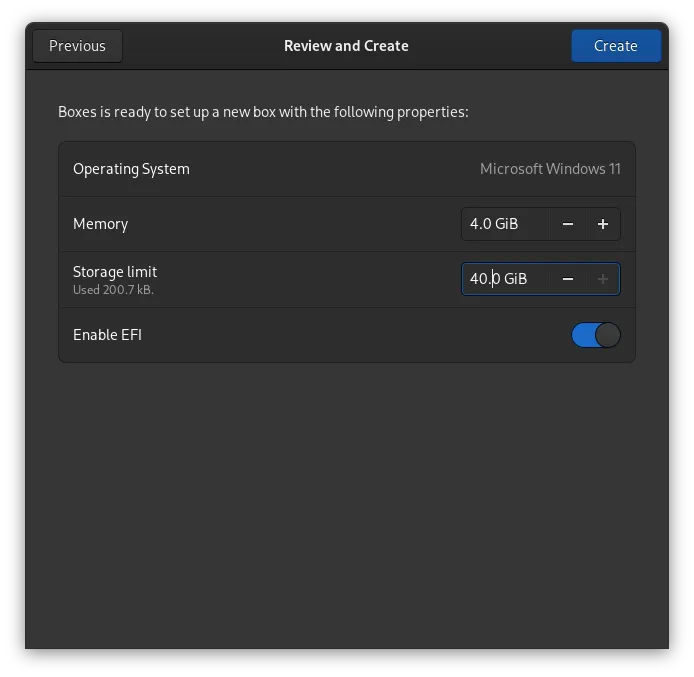
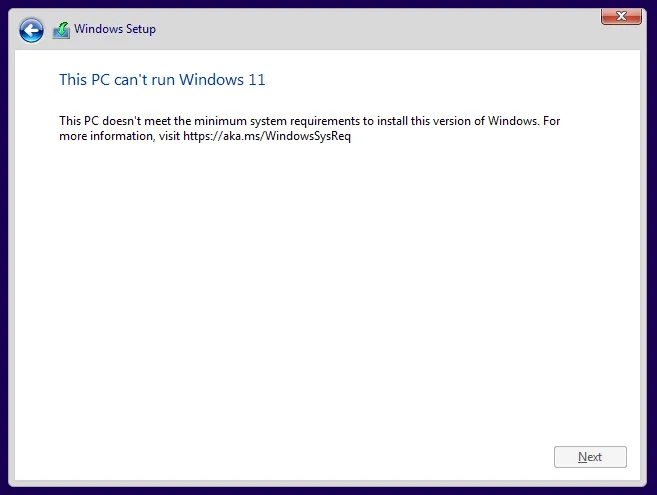
I am using 4 GB RAM and 40 GB disk storage. Click on the create button, and your virtual machine will start running. When your VM running for the first time, just back and select force shutdowns your VM since we haven’t made any modifications to the TPM and UEFI configurations yet. You got this error message when continue to install btw.
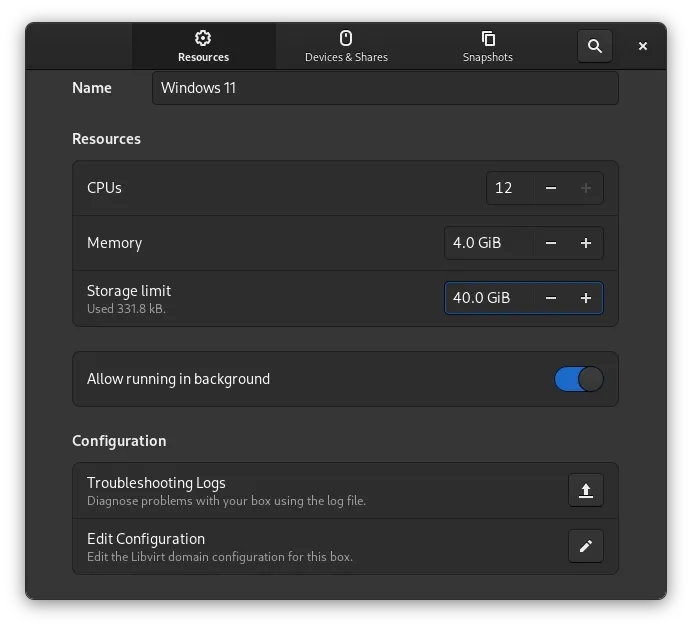
To access the VM configuration file, simply right-click on your box and select “Preferences”. From there, you can edit the configuration, and the VM config file will appear in your favorite text editor.
We will edit some config files to add support to UEFI and TPM 2.0
-
Find the
<os>...</os>tag in the VM configuration file and add the followingloaderconfig within theostag if it doesn’t already exist:<os> ... <loader readonly="yes" secure="yes" type="pflash">/usr/share/edk2/x64/OVMF_CODE.secboot.4m.fd</loader> ... </os>Your virtual machine is now running with UEFI BIOS from TianoCore, which we installed earlier. If you encounter any issues when starting your VM, double-check to make sure that the necessary line is present in the configuration file. In some cases, my VM revert to using Legacy BIOS, so it’s important to ensure that this line is included.
-
Find
<devices>...</devices>tag, scan all the child items and add or edit the the following line within thedevicetag<devices> ... <tpm model="tpm-crb"> <backend type="emulator" version="2.0"/> </tpm> ... </devices>
Save the config and run your VM again. For some case, boxes not loading your ISO and show the screen like this:
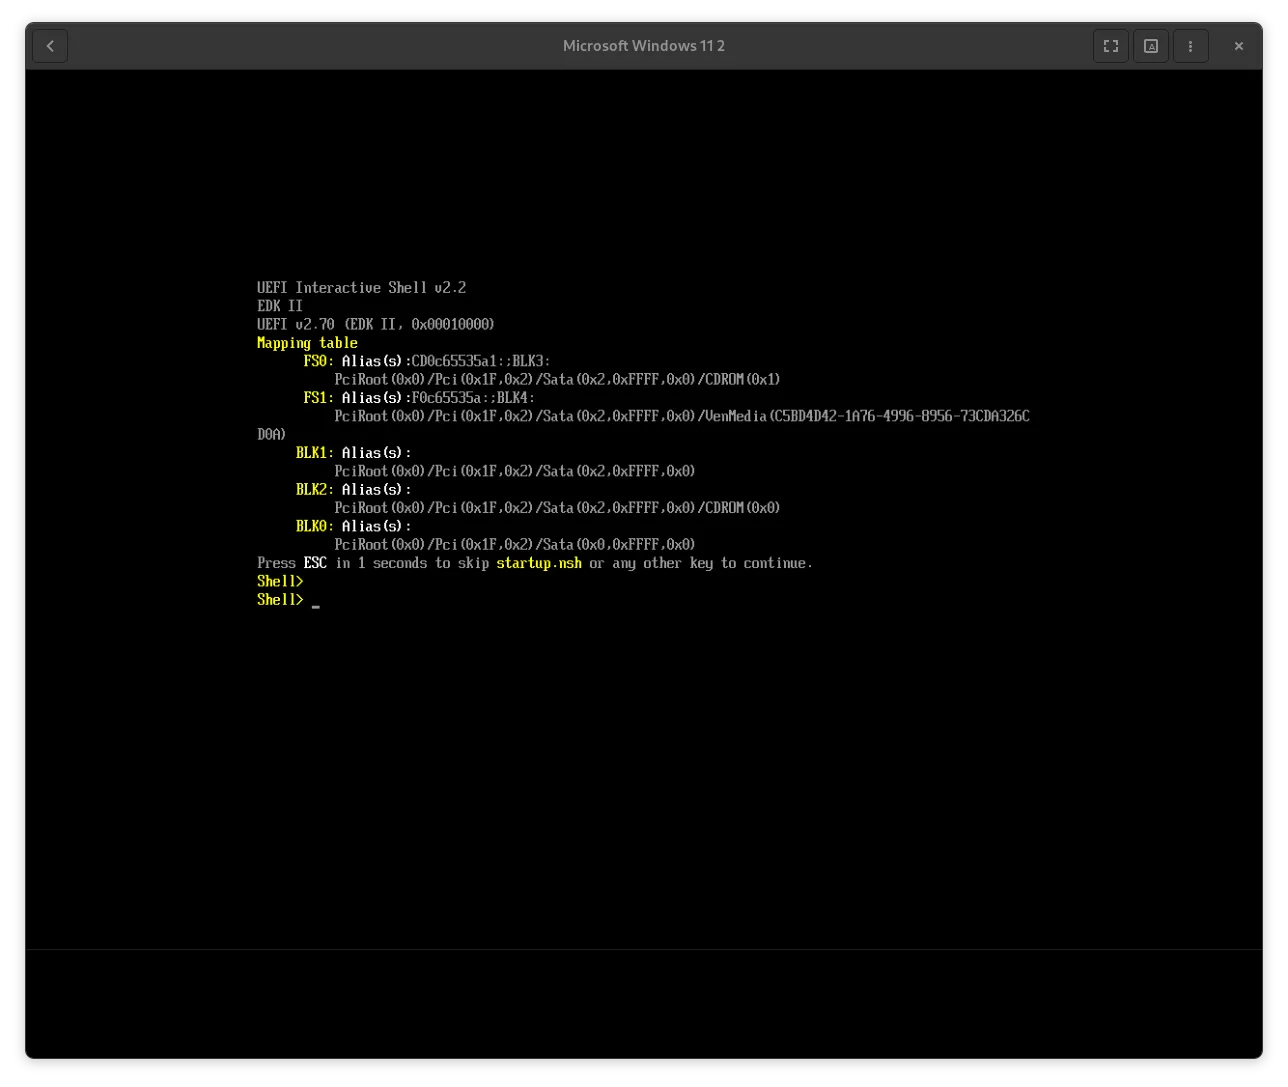
Just type exit and you will enter UEFI settings. from there, you can use Boot Manager and select from DVD to load Windows 11 ISO, and you can continue the rest Windows 11 installation without error before.
Conclusion
We just finished on how to setup a Windows 11 with TPM 2.0 and UEFI support in Gnome Boxes. You can continue your installation process. For a step-by-step guide on how to install Windows 11, please stay tuned for another post in the future.