Previous Part
In the previous post, we have discussed how to setup Rplumber project from logging, error handling, routing, and request valudation. Now, in this post we will deploy the Rplumber with Docker, create better Dockerfile and running it in some cloud services. If you wanna read another part, you can check this links below.
- Part 1 : Project Setup, Logging, and Error Handling
- Part 2 : Routing and Request Validation
- Part 3 : Deploy with Docker 🚀
- Part 4 : Testing and CI / CD
- Part 5 : Parallel Processing and Performance
TL:DR, If you wanna get the code, it is available on this repo. This is the final version from this tutorial, If you have any issues in the code, feel free to return to this page for reference
Docker & Rplumber
Docker is a tool to simplify the process of creating, deploying, and running applications by using containers and keeping them isolated from each other. Containers are a lightweight and portable way to package an application with all its dependencies, such as libraries and configuration files, into a single unit that can run across different environments. This makes it much easier to develop, test, and deploy applications, since developers can work in a consistent environment.
Before we continue, you must understand first what is Dockerfile, and docker-compose. Dockerfile is a configuration file used to specify how a Docker image should be built, and it includes information such as dependencies, application entrypoint, and port. Then, you can run the image by using the ‘docker run’ command, specifying the image name and any additional options. On the other hand, docker-compose is a tool that allows you to define and run multi-container docker-images. It uses a YAML file to define the services, networks, and volumes required for your application, and can start, stop, and scale all containers with a single command and making it easier to deploy complex applications with multiple components.
And now why we need docker in Rplumber??, because it’s simple to manage it in production. By packaging the Rplumber app and its dependencies, such as R packages, into a single container, it becomes much easier to run and scale the application in a Kubernetes cluster or cloud environment. With docker we can ensure the aplication runs consistenly everywhere, and you don’t need to say “IT’S WORK ON MY MACHINE”.
Docker Setup
Create file named Dockerfile in root project directory. I am using the latest rocker/r-ver version as base image which is based on Ubuntu LTS. This Dockerfile below is modified version of Dockerfile example from Rplumber documentation.
FROM rocker/r-ver:latest

# install os dependencies
RUN apt-get update -qq
RUN apt-get install -y --no-install-recommends \
  git-core \
  libssl-dev \
  libcurl4-gnutls-dev \
  curl \
  libsodium-dev \
  libxml2-dev \
  && rm -rf /var/lib/apt/lists/*

# install pak alternatives to install.packages
RUN Rscript -e "install.packages('pak', repos = sprintf('https://r-lib.github.io/p/pak/stable'))"

# install latest plumber from github main branch
RUN Rscript -e "pak::pkg_install('rstudio/plumber@main')"

# install other R packages
RUN Rscript -e "pak::pkg_install(c('logger','tictoc', 'fs'))"

# setup workspace
COPY . /app

WORKDIR /app

ENTRYPOINT ["Rscript"]

CMD ["app.R"]

EXPOSE 8000
Let’s take a look when we install some Rpackages. First we install pak, a library to install packages alternatives to built in tools install.packages. I am using this library to make installation faster, because pak can handle multiple installation in parallel. If you need some library, you must add the installation process to Dockerfile.
Then after the installation complete, we copy all files in our project to /app directory to the container by using COPY . /app. Finally, we add entrypoint Rscript app.R to run our apps. Now it’s time to build and run the images
docker build -t "r-plumber:latest" .

docker run -d --name "r-plumber" -e "HOST=0.0.0.0" -p 8000:8000 r-plumber:latest
Now you got the plumber running in http://localhost:8000. We run it with env variable HOST=0.0.0.0, idk if this bug or not, but if you change it to HOST=127.0.0.1 it will failed to expose the port to docker host. If you need the docker-compose file to run it with docker-compose up -d, you can take a look to this example
version: "3"

services:
  rplumber:
    build: .
    container_name: r-plumber
    volumes:
      - ./:/app
    environment:
      - PORT=${PORT:-8000}
      - HOST=${HOST:-'0.0.0.0'}
    ports:
      - "8000:8000"
Deploy
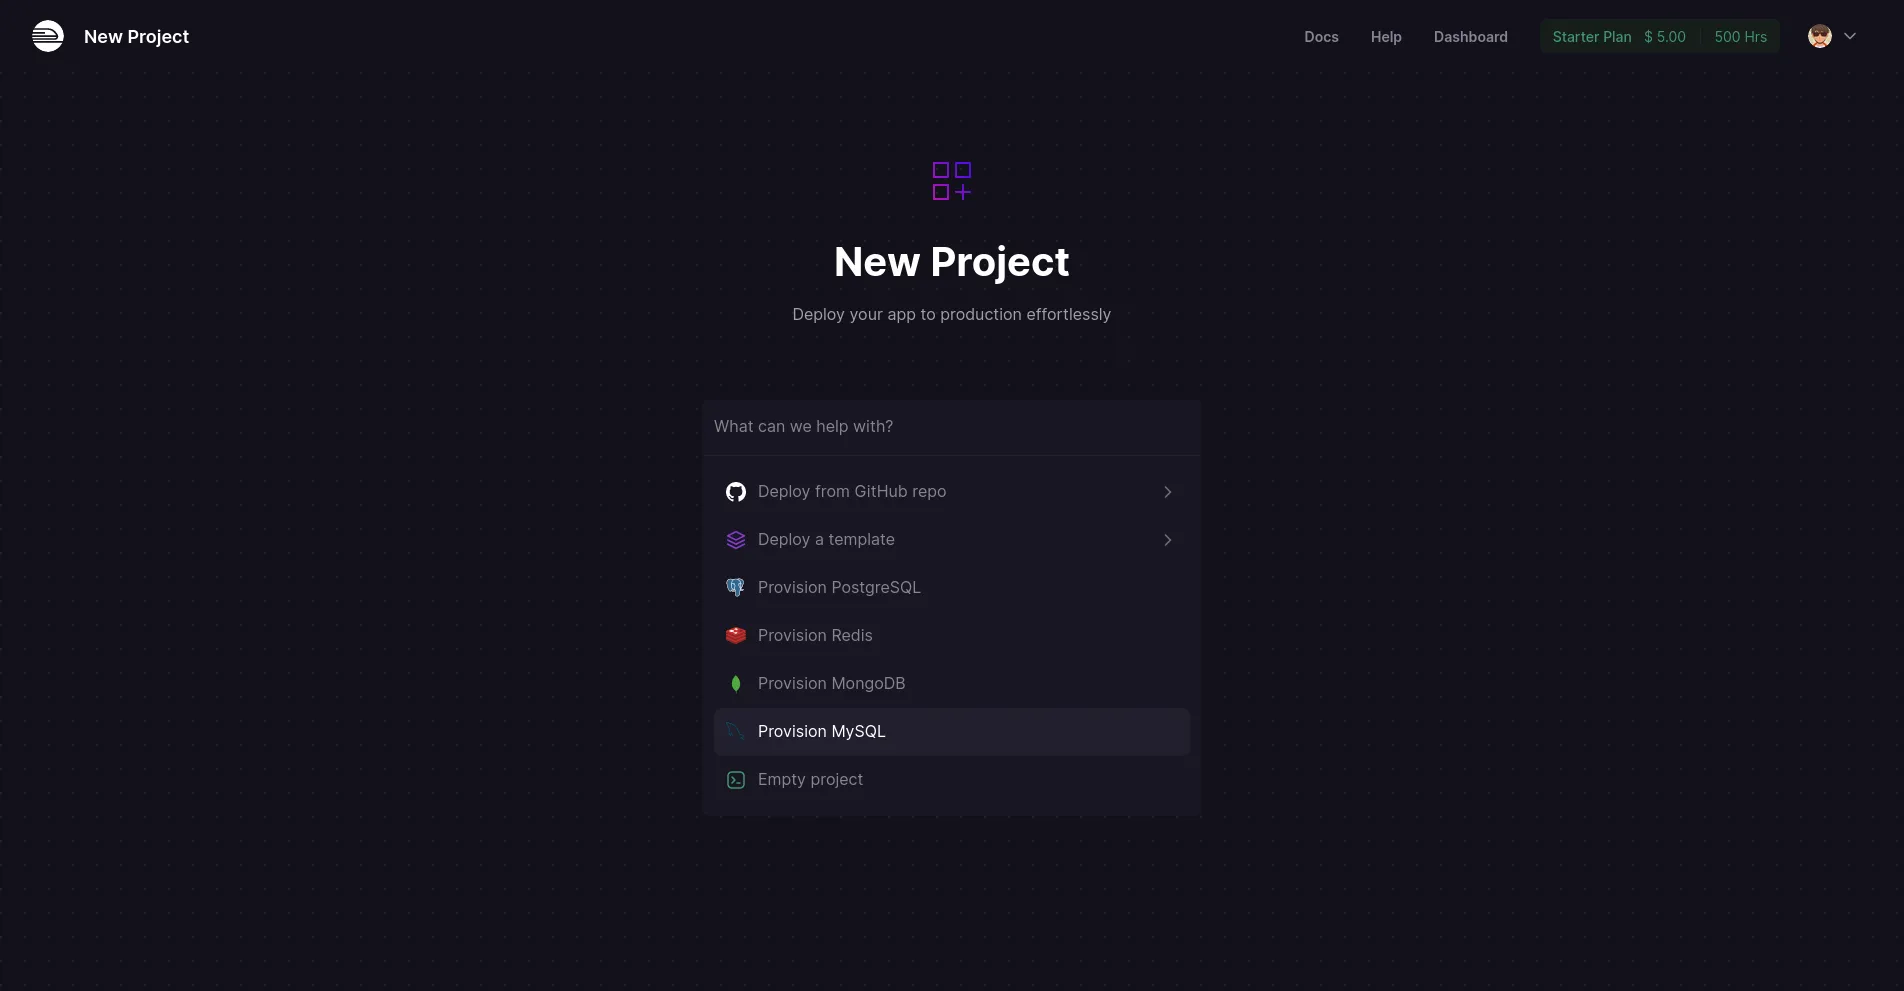
Deploying docker images it’s easy, you can deploy it like other images in Kubernetes, Docker Swarm, Cloud in GCP / AWS, or a VPS. In this tutorial, I am show you how to deploy our apps to Railway, Railway is a cheap & easiest solution to deploy docker images, enough for this kind of project.
First we need to setup a github repository for this project. Next, login to Railway, create a new project, select deploy from Github Repo, and choose the repo we created before.
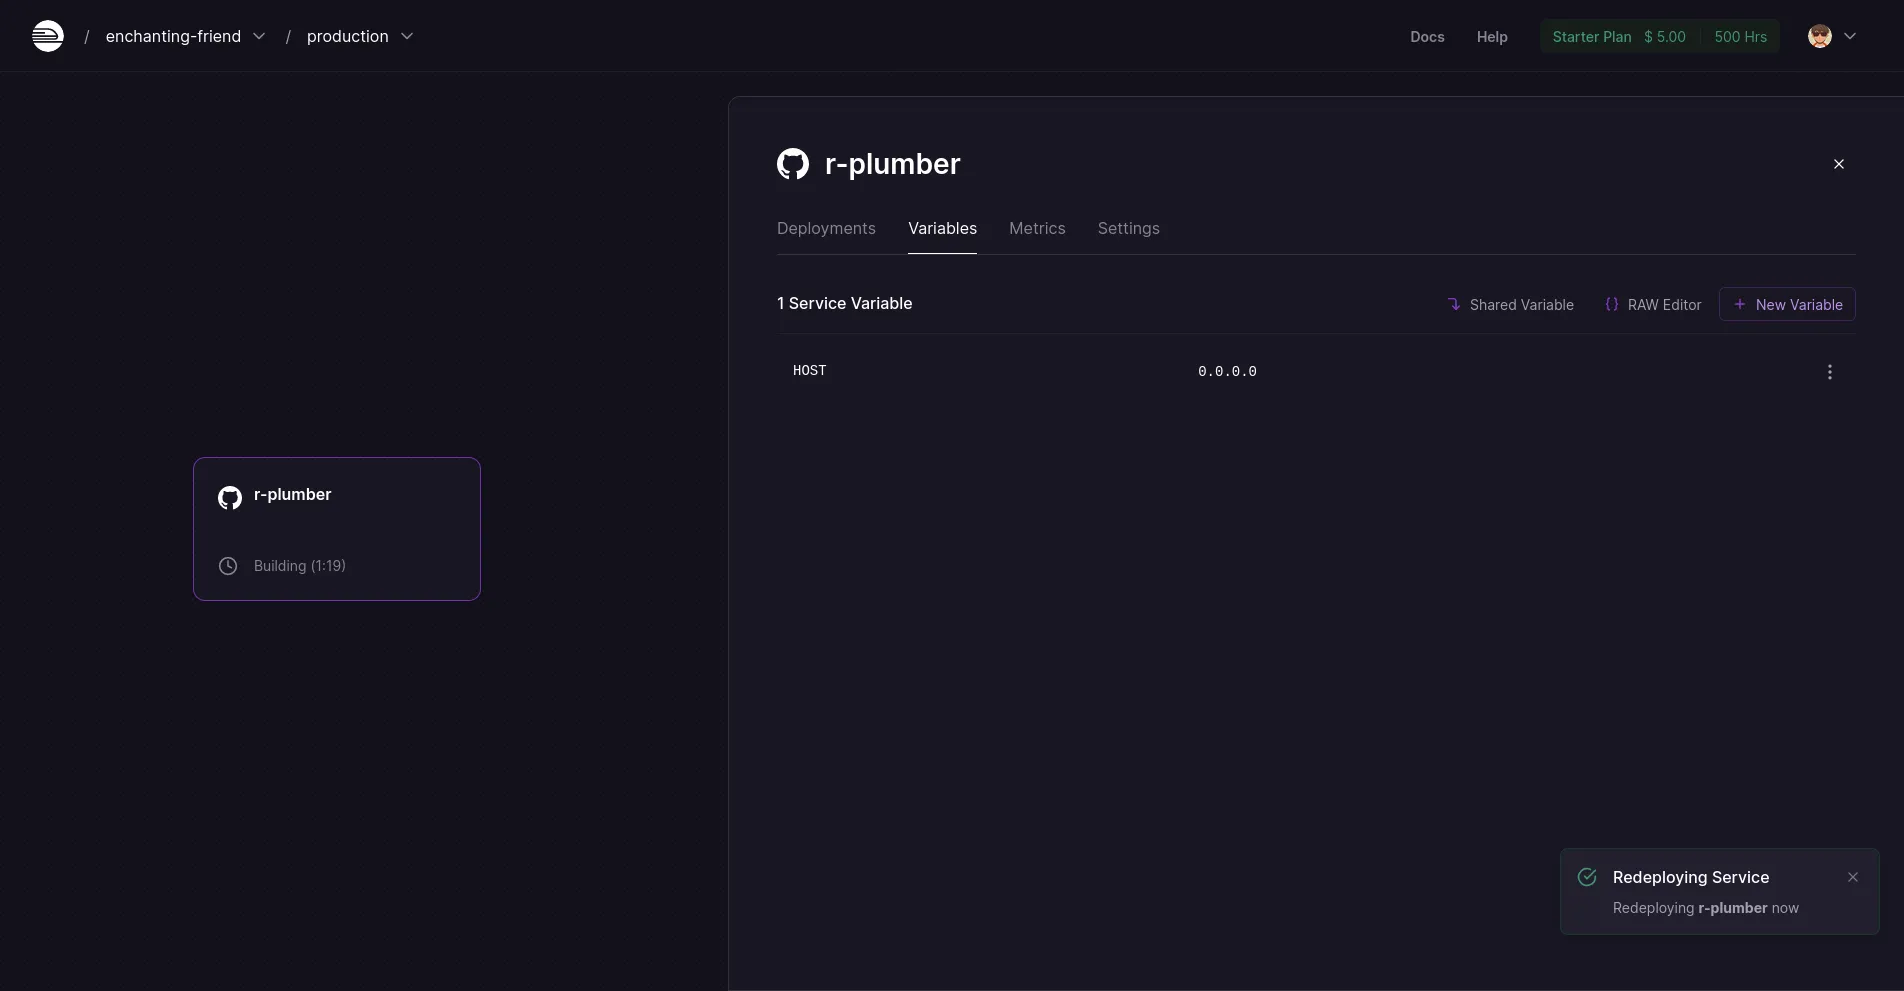
Railway will check automatically the Dockerfile in the project and build it. Just like before, we need setup HOST to 0.0.0.0,
After that, you can wait until the build completed and running. Alse you can see the logs there and check the resources usage of this apps
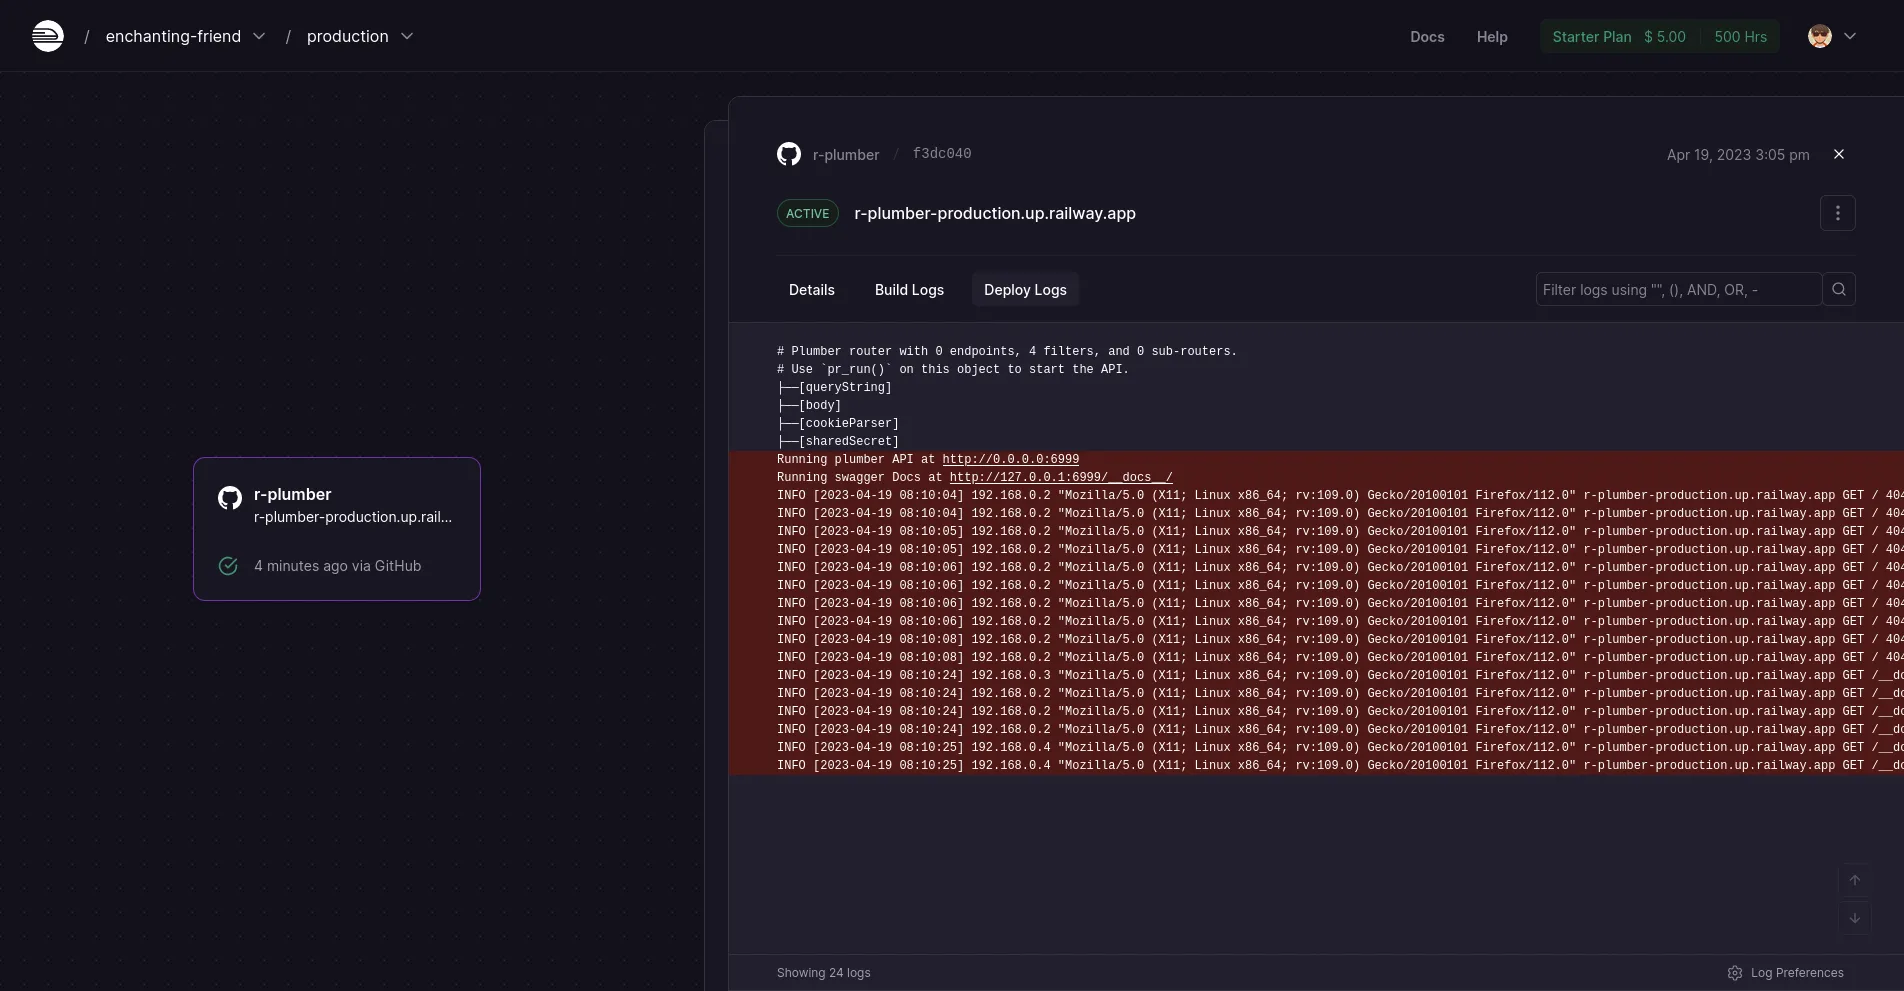
There it is, simple isn’t?
Next Part
We have discussed about how to setup a Rplumber apps in docker environment and successfully deploy it to one of cloud services. Docker make deployment easies, because they manage all the dependencies and ensure the applications run consistenly everywhere. In the next part, we will continue our discussion on how to test our endpoint and helpers with testthat packages in this project. To continue, follow this link