Sometimes, we don’t need any fancy database, like Postgre, MySQL, and the like. What we need is just a simple Google Sheets. Let’s create a simple form, and submit it to Google Sheets, without any backend or any bloated js library 😉.
Cooking your database
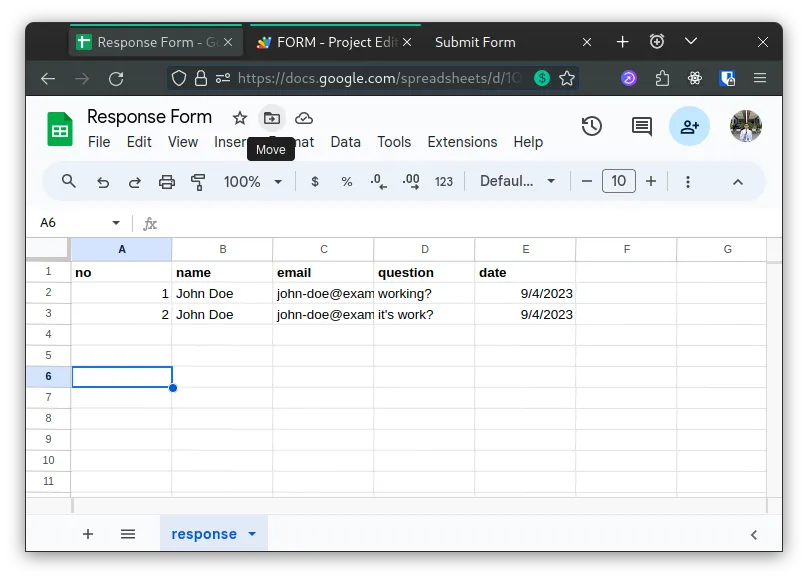
First, create a new blank Google Spreadsheets. Don’t forget to keep your spreadsheet id, look at the search bar, you can find it from there.
https://docs.google.com/spreadsheets/d/[spreadsheet_id]/edit#gid=0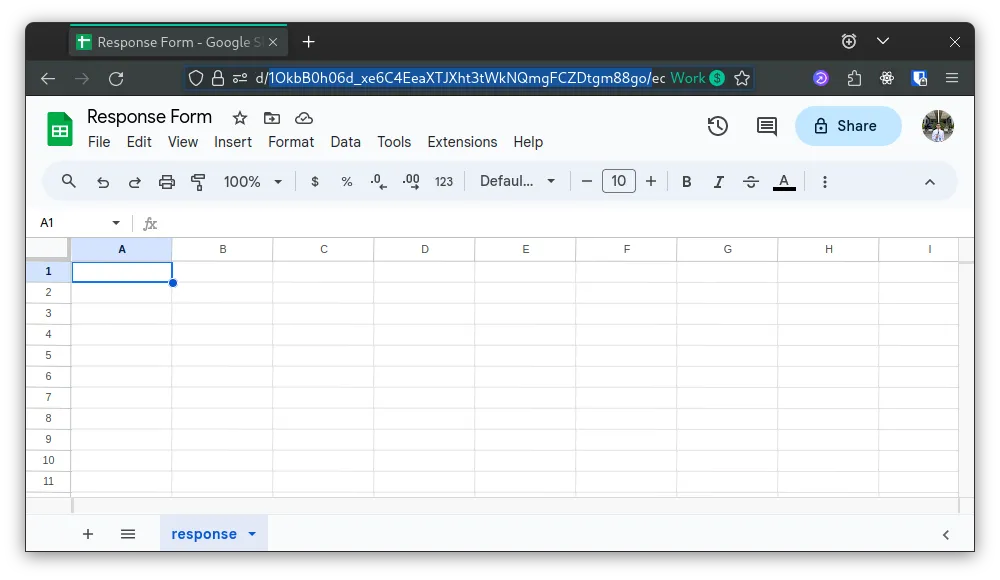
Now open Extensions App Script, and paste the following code to the editor, don’t forget to change the spreadsheet_id
const spreadSheetId = "some-id"; // your spreadsheet_id
const sheetName = "response"; // sheet name
const lockTime = 100; //ms

function doPost(e) {
  /**
   * lock the spreadsheet
   *
   * @reference https://developers.google.com/apps-script/reference/lock/lock-service
   * */
  const lock = LockService.getScriptLock();
  lock.tryLock(lockTime);

  try {
    const doc = SpreadsheetApp.openById(spreadSheetId);
    const sheet = doc.getSheetByName(sheetName);

    /**
     * we get all headers value from `response` sheets,
     * header must be in the first row and first column
     * */
    const headers = sheet
      .getRange(1, 1, 1, sheet.getLastColumn())
      .getValues()[0];
    const nextRow = sheet.getLastRow() + 1;

    /**
     * create a new row form the data we send to the form,
     * but for some data, we want define it manually,
     * like no and date.
     *
     * add your own case, if you want something new
     * */
    const newRow = headers.map(function (header) {
      switch (header) {
        case "no":
          return nextRow - 1;
        case "date":
          return new Date();
        default:
          return e.parameter[header];
      }
    });

    /**
     * insert the data to last row
     * */
    sheet.getRange(nextRow, 1, 1, newRow.length).setValues([newRow]);

    /**
     * return back the response to user
     * */
    return ContentService.createTextOutput(
      JSON.stringify({ result: "success", row: nextRow })
    ).setMimeType(ContentService.MimeType.JSON);
  } catch (e) {
    return ContentService.createTextOutput(
      JSON.stringify({ result: "error", error: e })
    ).setMimeType(ContentService.MimeType.JSON);
  } finally {
    lock.releaseLock();
  }
}
always naming your function
doPost, to handle POST method to your form, and don’t forget to save your code
We will use the first row from response sheets to define our form keys/columns:

In this case, your keys are name, email, and question. be carefull, because this keys are case-sensitive.
Preparing the “backend”
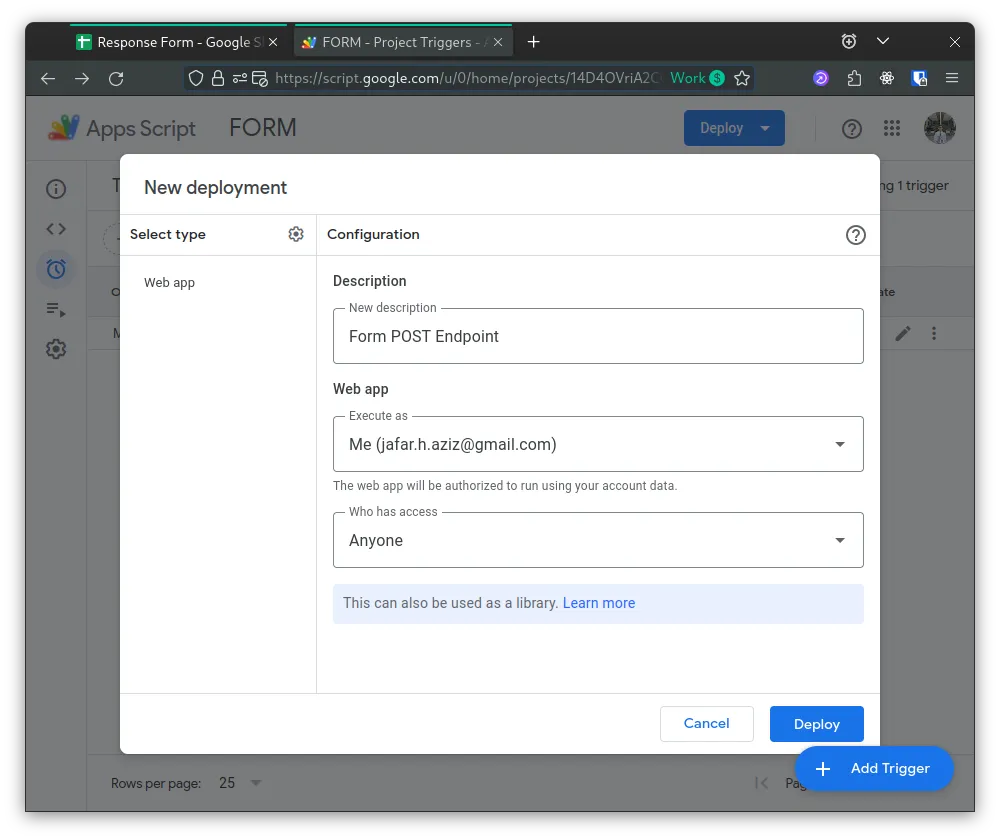
Back to the App Script, to get url to submit the form, we need to create a new deployment. Deploy New Deployment. Select Web App as Deployment Type and fill:
- Execute As
Me - Who has access
Anyone(Everyone can submit the form)
Deploy and now you get the Web App URL. keep it, we will use this URL to submit our form later.
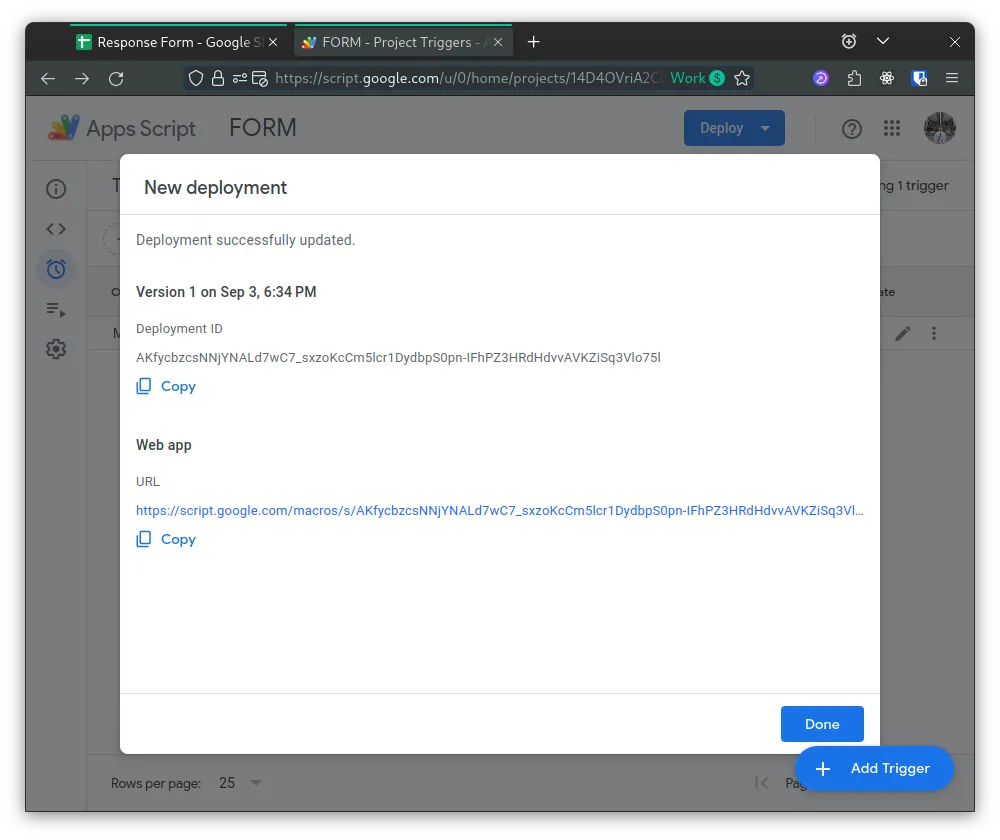
If you update your script, try to redeploy again.
Cooking Our form
This method is not limited in HTML Form, you can do this in your backend or just make a simple POST request to your script URL. But, for this tutorial, we create it in simple form. Let’s create it with plain html and vanilla js 😉.
<!DOCTYPE html>
<html lang="en">
  <head>
    <meta charset="UTF-8" />
    <meta name="viewport" content="width=device-width, initial-scale=1.0" />
    <title>Submit Form</title>
  </head>
  <body>
    <form id="form">
      <div>
        <label for="name">name</label>
        <input type="text" name="name" />
      </div>
      <div>
        <label for="email">email</label>
        <input type="email" name="email" />
      </div>
      <div>
        <label for="question">question</label>
        <textarea name="question"></textarea>
      </div>
      <button type="submit">Submit</button>
    </form>
    <script>
      /**
       * we capture the form, and send it again
       * with fetch API.
       **/
      const form = document.getElementById("form");

      form.addEventListener("submit", function (event) {
        event.preventDefault();

        const data = new FormData(event.target);

        /**
         * with this you can perform some validation, etc
         **/
        const name = data.get("name");
        const email = data.get("email");

        /**
         * send data to web APP URL from
         * script deployment
         *
         * change the url to your URL, don't use this
         **/
        fetch(
          "https://script.google.com/macros/s/AKfycbw_jnqkYazOLr7ZExiD_IlgelGnICroO3yseuuW9jruJk0LAYZSK6JtxfDAhT_eta-f/exec",
          {
            redirect: "follow", // don't remove this
            method: "POST",
            body: data,
          }
        )
          .then(res => res.json())
          .then(data => console.log(data))
          .catch(err => console.log(err));
      });
    </script>
  </body>
</html>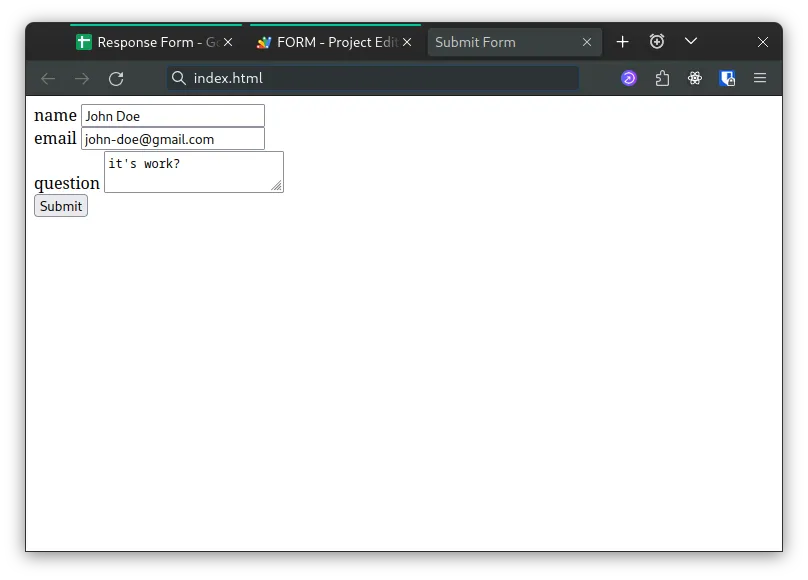
Submit, and now you can see the data is coming in your spreadsheets.
Wrapping Up
This example just simple explanation how this thing works, you can do more than that. Sometimes what we need is just a simple form in our existing app, for example email subscription form, simple survey, etc.
If you need more advance usage of Google Sheets as database, I recommend you to use Google Spreadsheet API. We will talk about it later.